WinPE (also known as Windows PE and Windows Preinstallation Environment) is a stripped-down version of Windows, it serves as an emergency startup platform that can be used to install, troubleshoot or recover a full Windows environment on a computer. Since most Windows applications can work directly under WinPE without modification, it is also used by application developers to make rescue disks to restore file or Windows operating system in the event of a Windows operating system crash.
If you are a computer geek, you should know that it is more common to use WinPE as a rescue disk in data recovery software and Windows backup and restore software, such as our products Hasleo Data Reovery and Hasleo Backup Suite. These applications typically provide features for creating a WinPE ISO file and the ability to create a bootable USB drives from the WinPE ISO file they create, however the bootable WinPE USB drives created by these applications work either only on Traditional BIOS computers or only on UEFI computers, or cannot use the storage space of the entire USB drive.
Hasleo WinToUSB allows you to create create a bootable WinPE USB form a WinPE ISO file, it can use the entire USB drive storage space and supports both BIOS and UEFI computers.
Step 1. Download and install Hasleo WinToUSB.
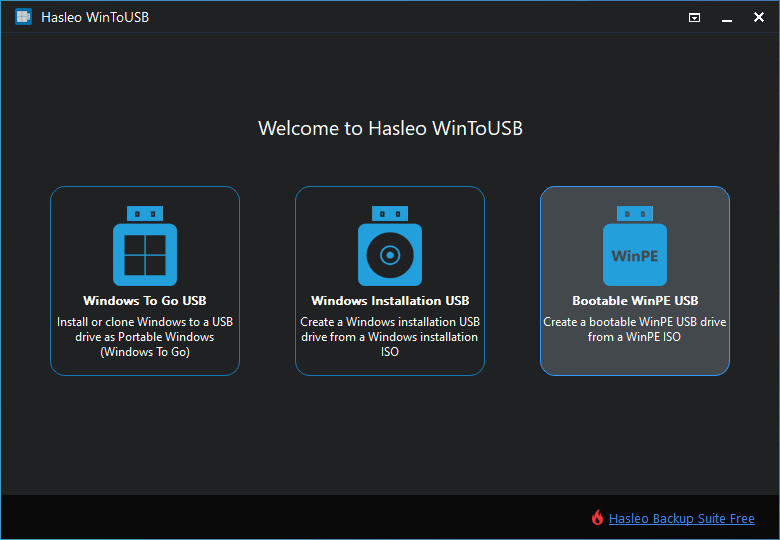
Step 2. Connect the the USB drive to the computer, run Hasleo WinToUSB and then click "Bootable WinPE USB".
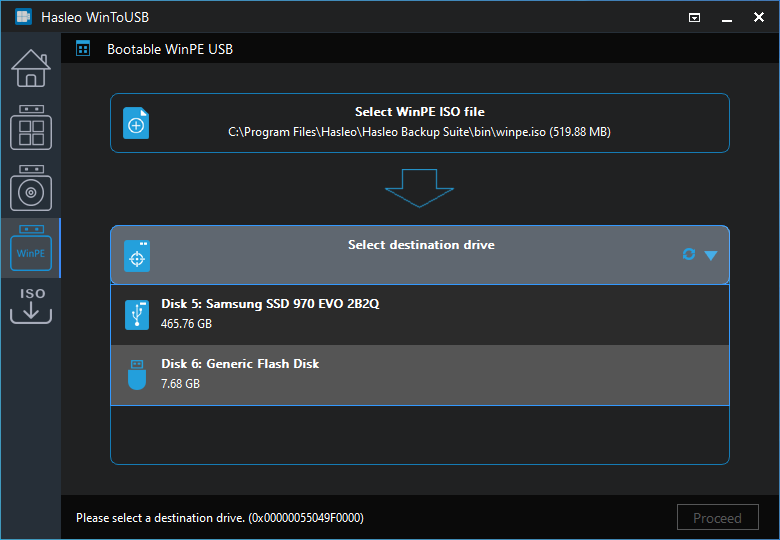
Step 3. Click "Select installation source", then select the WinPE ISO file from the open dialog box as installation source.

Step 4. Click "Select destination drive" and select the destination drive from the pop-up drive list. If the drive is not correctly recognized by Hasleo WinToUSB, you can click the ![]() button for the program to recognize the drive.
button for the program to recognize the drive.
Step 5. Choose the partition scheme you want to use. We recommend using the "MBR for BIOS and UEFI" option to create a bootable WinPE USB drive that supports both BIOS and UEFI computers.
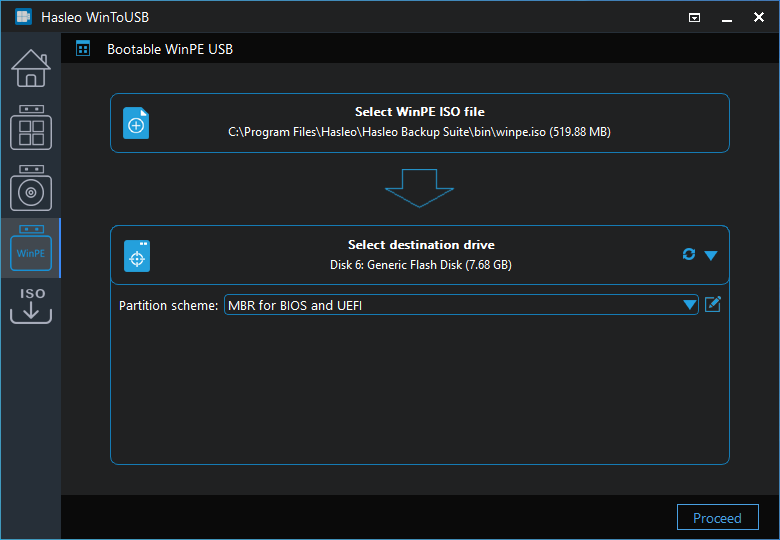
* Partition scheme:
Step 6. Click "Proceed", a pop-up will appear asking you if you want to format it to continue, click "Yes" if you are sure.
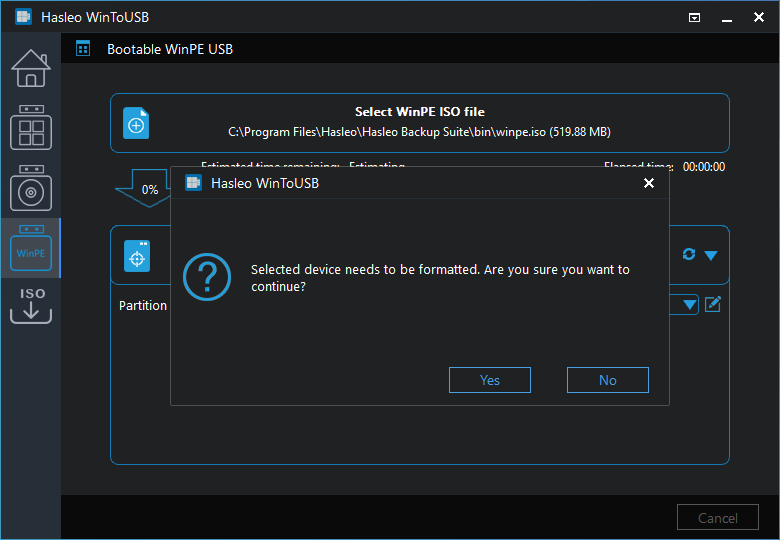
Step 7. After clicking "Yes", WinToUSB begins creating the bootable WinPE USB drive.
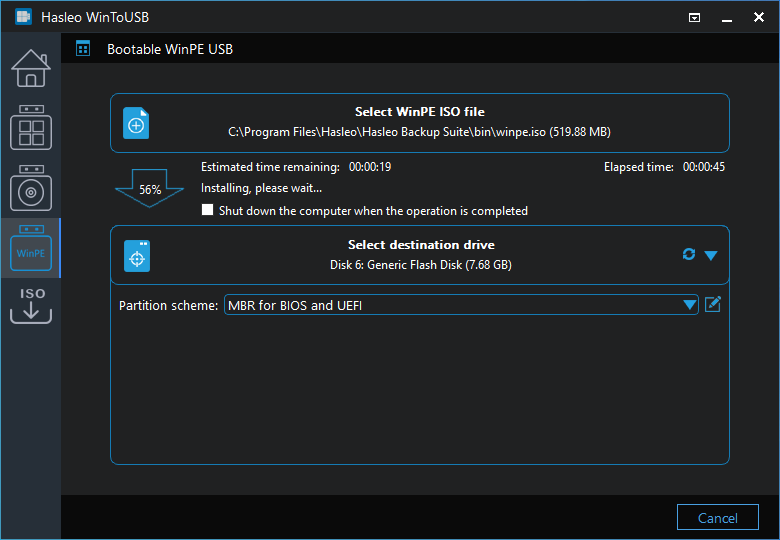
Step 8. Wait for the creation to complete.
Follow these simple steps, you can create a bootable WinPE USB drive from a WinPE ISO image file with Hasleo WinToUSB easily. With Hasleo WinToUSB you can create a bootable WinPE USB drive that supports both BIOS and UEFI computers.
As a professional bootable USB creation software for Windows, you can not only create a bootable WinPE USB drive with Hasleo WinToUSB, but also create a Windows installation USB drive or create portable Windows USB drive easily.
If you have formatted the wrong USB drive, you can use our Free Data Recovery Software Hasleo Data Recovery to recover your lost files.
![]()
![]()


