If you have a Windows installation CD/DVD, you can use WinToUSB to install Windows on your USB or Thunderbolt drive as a Windows To Go workspace. This guide focuses on how to create Windows To Go from a CD/DVD drive, so please read this guide carefully before creating Windows To Go.
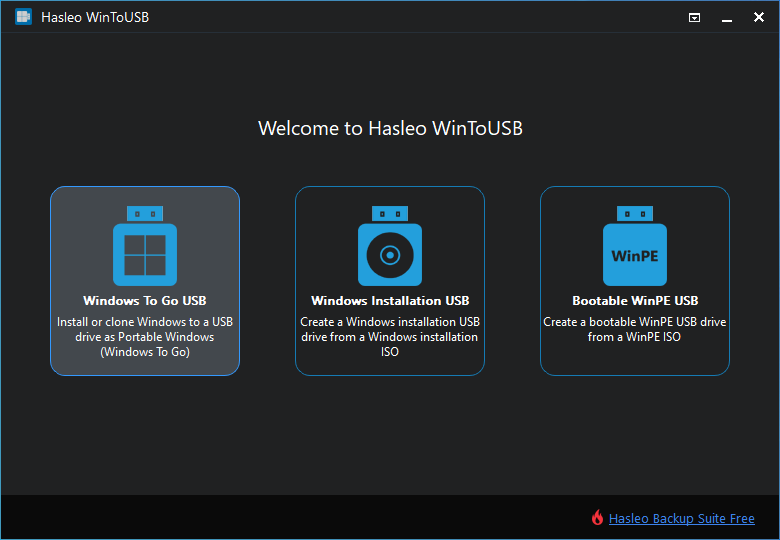
Step 1. Connect the USB or Thunderbolt drive to the computer, download, install and run Hasleo WinToUSB and then click the "Windows To Go USB".
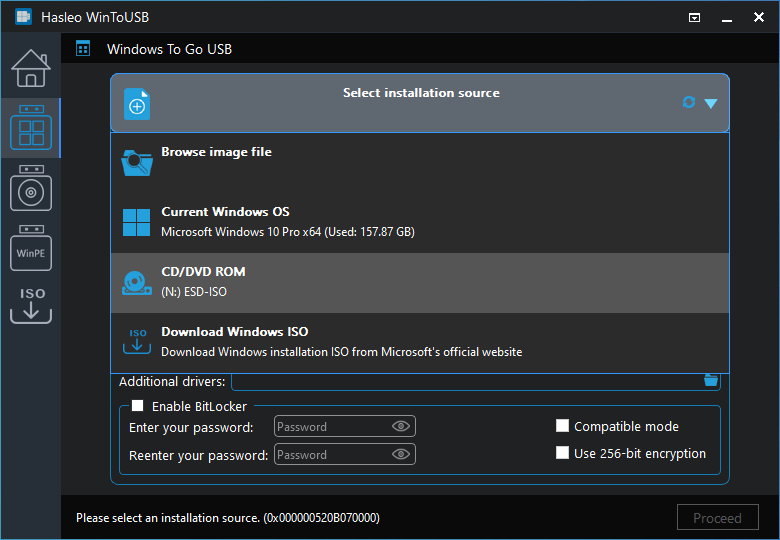
Step 2. Insert the Windows installation CD/DVD into your CD/DVD drive, once the CD/DVD is being detected in Windows, click "Select installation source", then select the CD/DVD drive as installation source.
Step 3. Hasleo WinToUSB scans for and lists installable operating systems, select the edition of Windows you want to install.
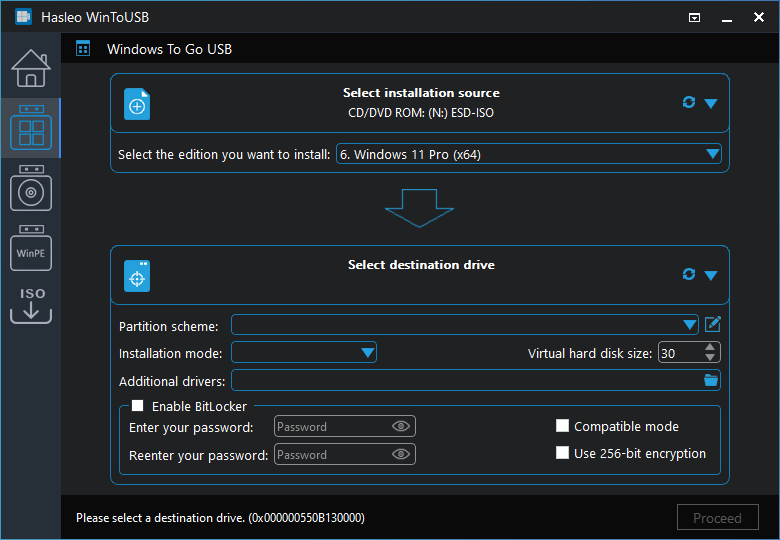
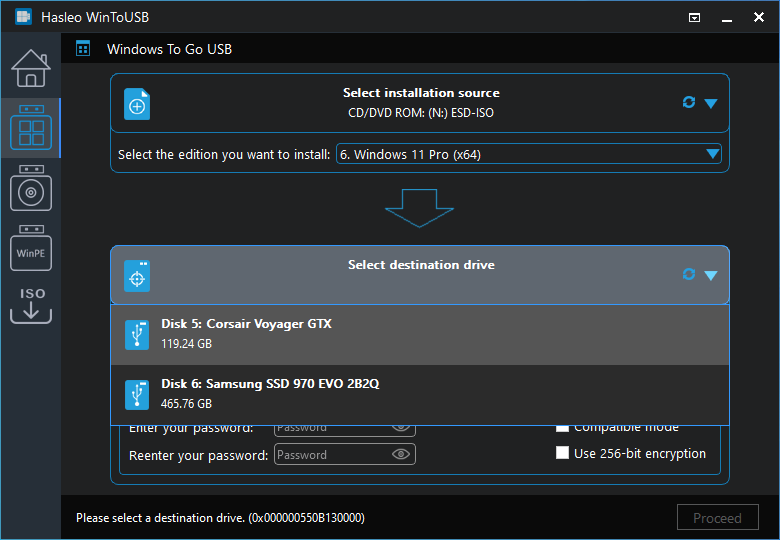
Step 4. Click "Select destination drive" and select the destination drive from the pop-up drive list. If the drive is not correctly recognized by Hasleo WinToUSB, you can click the ![]() button for the program to recognize the drive.
button for the program to recognize the drive.
Step 5. Choose the partition scheme and installation mode according to your needs.
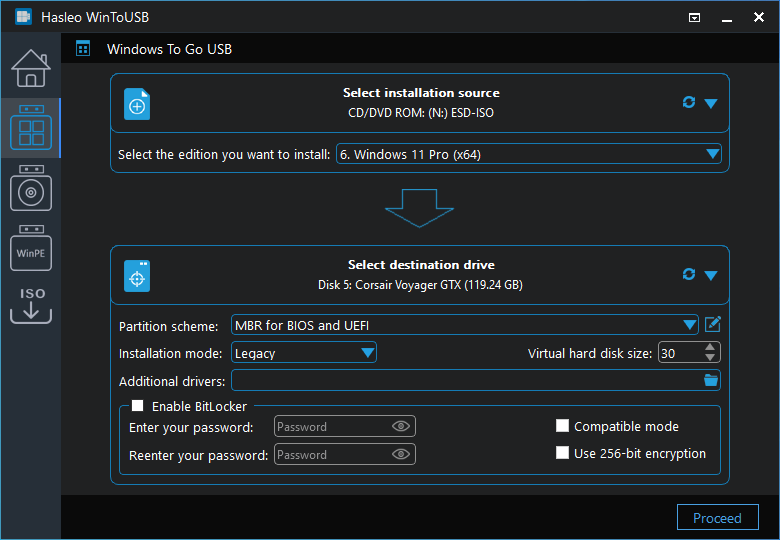
* Partition scheme:
* Installation mode:
* Enable BitLocker:
* Additional drivers:
* Enable support for 'Windows UEFI CA 2023': This allows you to Create a Windows To Go USB drive compliant with the Microsoft UEFI CA 2023 secure standard to pass Secure Boot on computers that only trust the new certificate.
* Offline internal disks when booting into Windows To Go: All internal disks will be offline by default after booting into Windows To Go with this option checked, and you will need to manually bring the internal disks online to access them.
* Bypass Microsoft account requirements: This allows you to to create a Windows 11 To Go USB drive that can bypasses the Microsoft account requirement.
Step 6. After choosing the partition scheme, you can click the ![]() button to bring up the Disk Layout window. Here you can adjust the size and location of the partitions as well as set volume labels and other information as needed, and then click "OK" to save the changes.
button to bring up the Disk Layout window. Here you can adjust the size and location of the partitions as well as set volume labels and other information as needed, and then click "OK" to save the changes.

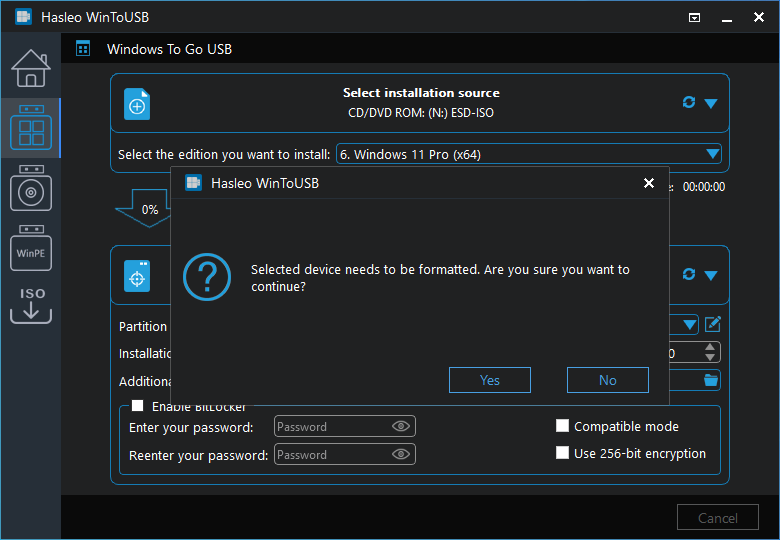
Step 7. Click "Proceed" when you have completed all the settings, a pop-up will appear asking you if you want to format it to continue, click "Yes" if you are sure.
Step 8. After clicking "Yes", WinToUSB begins installing Windows to the destination drive.
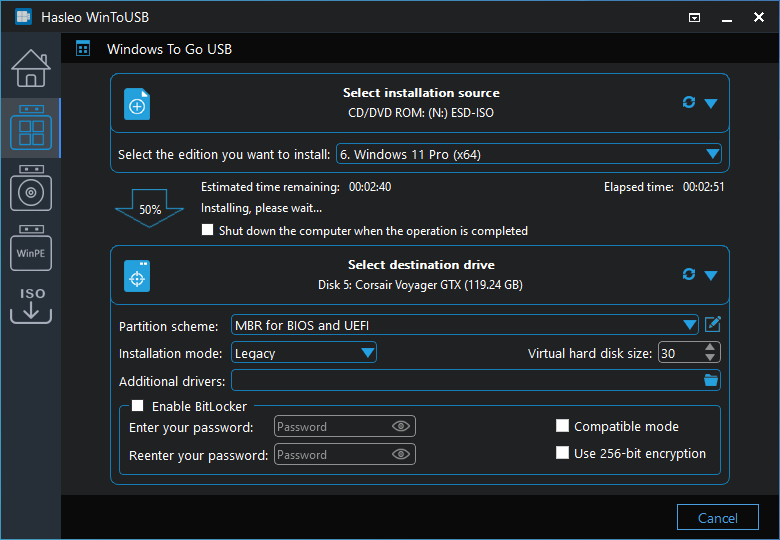
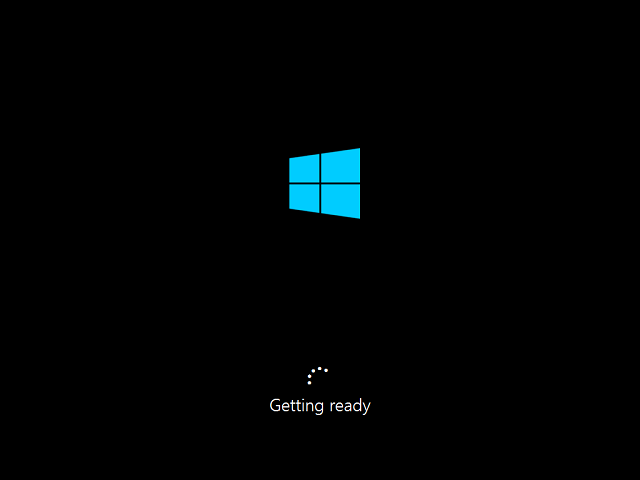
Step 9. It takes some time to install. After installation restart the computer and change BIOS to boot from your USB or Thunderbolt drive.
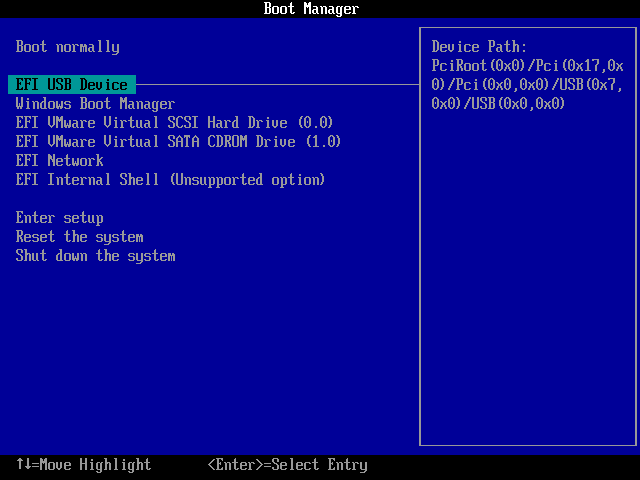
Step 10. Windows installation starts up and you have to complete all the installation steps. You will have to boot from your USB or Thunderbolt drive if the Windows Installation restarts the computer.
Follow these simple steps, you can install Windows OS to USB or Thunderbolt drive from a CD/DVD drive with WinToUSB easily. As a professional portable Windows creation tool, with it you can create portable Windows from an ISO, WIM, VHD(X) or DBI (DBI is the extension of the backup image file produced by Hasleo Backup Suite) files, and clone the currently running Windows to a USB drive as Windows To Go.
![]()
![]()


