As a system clone software, WinToHDD can help you to clone an existing Windows OS installation (Windows 11, Windows 10, Windows 8, Windows 7 or Windows Vista) to another disk (HDD/SSD). As its name implies, the system clone means to make an exact copy of the original operating system to another storage device such as a hard disk drive (HDD) or a solid state drive (SSD). It not only copies the operating system files, but also the installed applications and other custom settings, so you don't need to reinstall the applications and reconfigure the operating system after cloning. The advantage of this is that you can use a disk that has cloned Windows to quickly restore Windows when Windows system fails, or upgrade the disk where Windows is running to a larger disk.
If you need to backup Windows or clone one disk to another, please try our free Windows backup software - Hasleo Backup Suite.
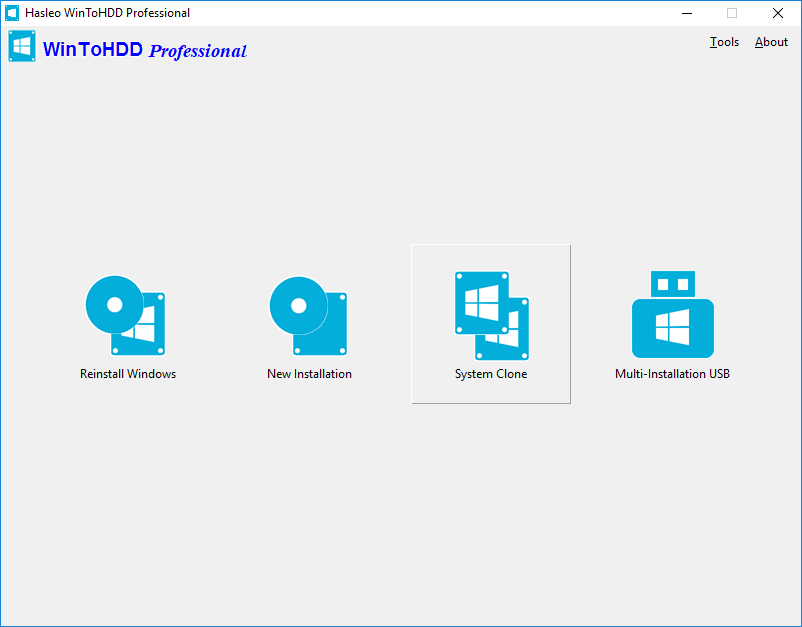
Step 1. Run WinToHDD, then click the "System Clone" button.
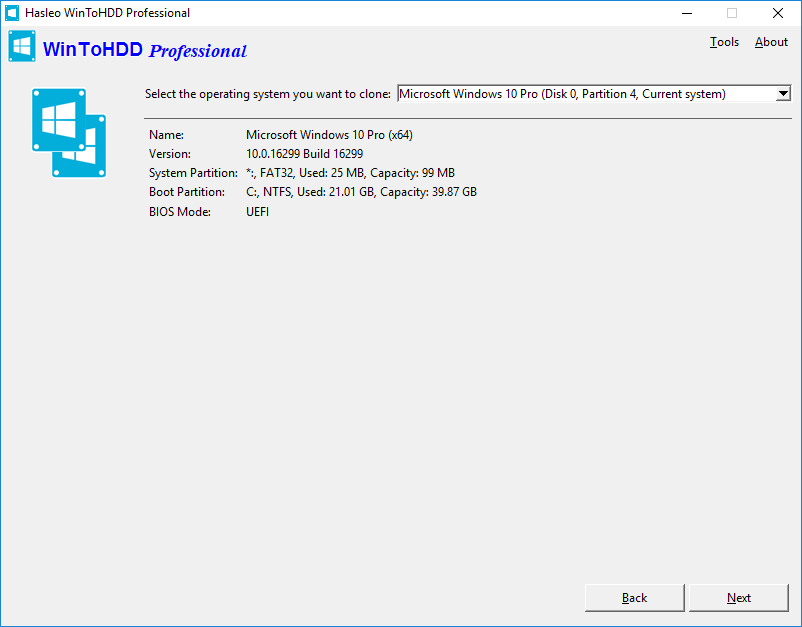
Step 2. Select the Windows OS installation which you want to clone in the drop-down list, you will see the detailed system information under it, click "Next" if you are sure.
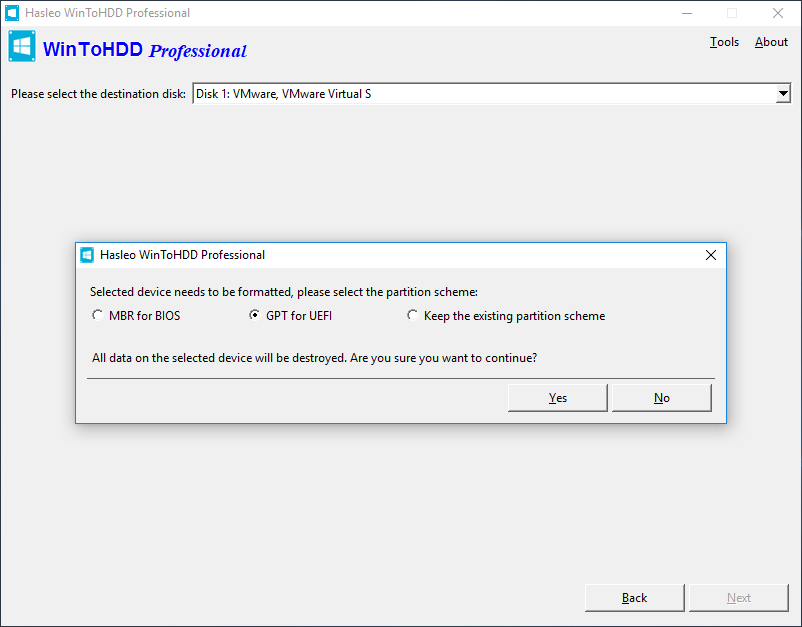
Step 3. Select the destination disk in the drop-down list, a pop-up will appear asking you if you want to format it to continue, select the partition scheme you want to use and click "Yes" to continue.
![]() Tips:
Tips:
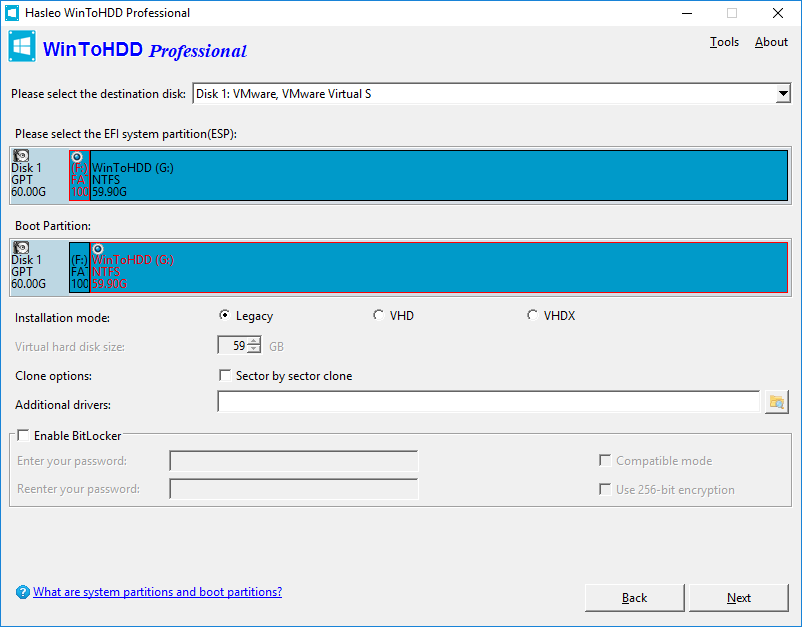
Step 4. Select the boot partition and system partition from the partition list, the selected partitions will be marked as red.
![]() Tips:
Tips:
Step 5. Click "Next". After clicking "Next", WinToHDD begins cloning Windows to the destination disk. Please note that if the destination disk is currently in use, WinToHDD needs to create a WinPE image and reboot into WinPE to complete the cloning operation.
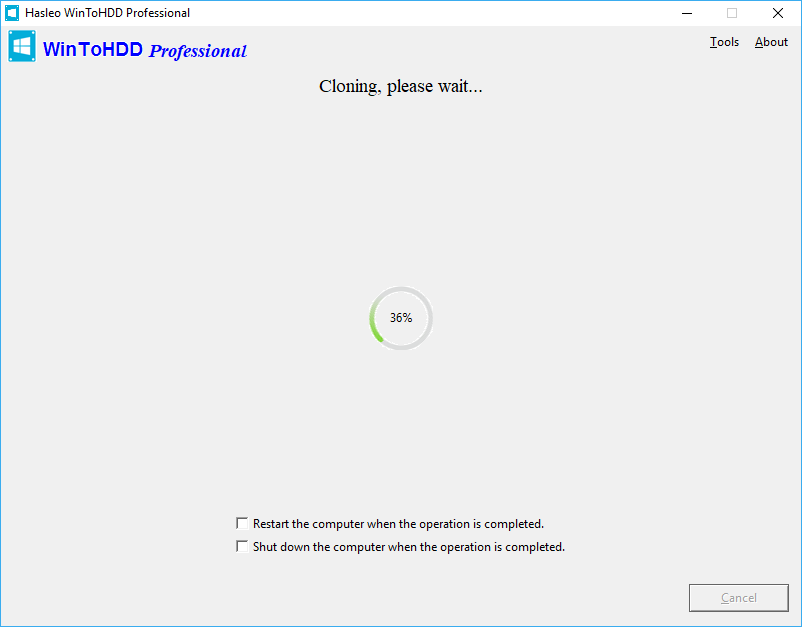
Step 6. It takes some time to clone. After the clone is successful completed, restart the computer and change BIOS to boot from your hard disk drive.
Follow these simple steps, you can migrate Windows OS to hard disk drive with free system clone software WinToHDD easily.