Have you ever imagined that to create a Windows installation USB containing all your Windows installation ISO files (including Windows 11, Windows 10, Windows 8/8.1, Windows 7 and Windows Vista), then you can install Windows 11/10/8/8.1/7/Vista from the same USB drive on both BIOS and UEFI computers? In this guide, we will show you how to create the multiple Windows installation USB flash drive with free Windows deployment tool WinToHDD.
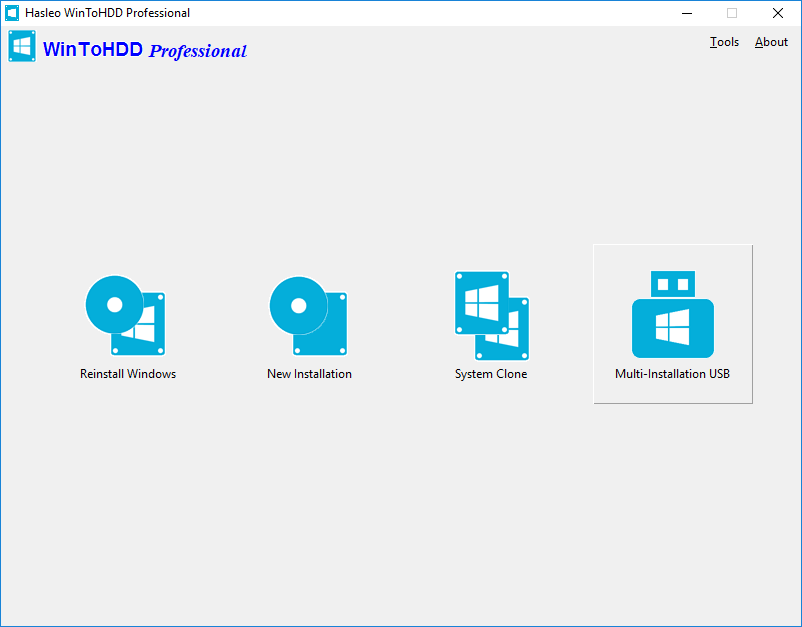
Step 1. Run WinToHDD, then click the "Multi-installation USB" button.
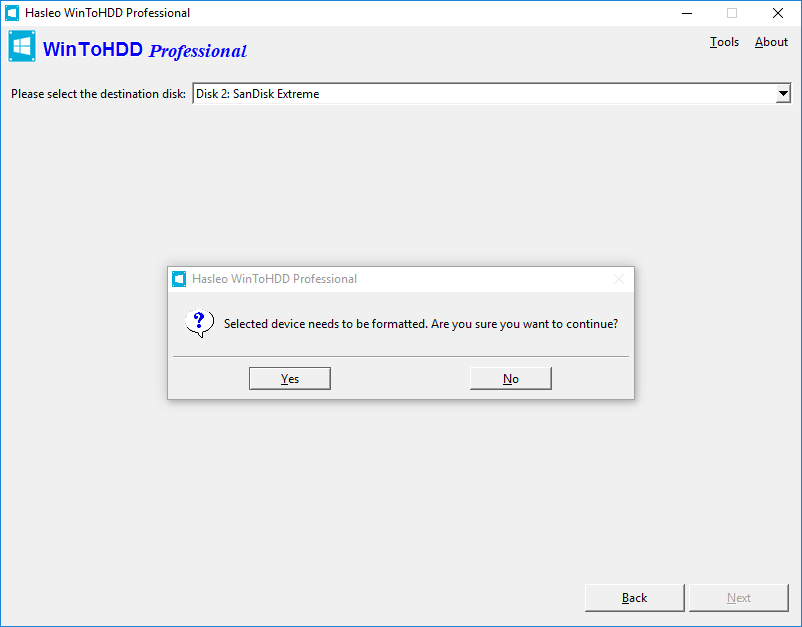
Step 2. Select the USB drive in the drop-down list. If your USB drive is not correctly recognized by WinToHDD, you need to click the ![]() button for the program to recognize the USB drive. After you select the USB drive, a pop-up will appear asking you if you want to format it to continue.
button for the program to recognize the USB drive. After you select the USB drive, a pop-up will appear asking you if you want to format it to continue.
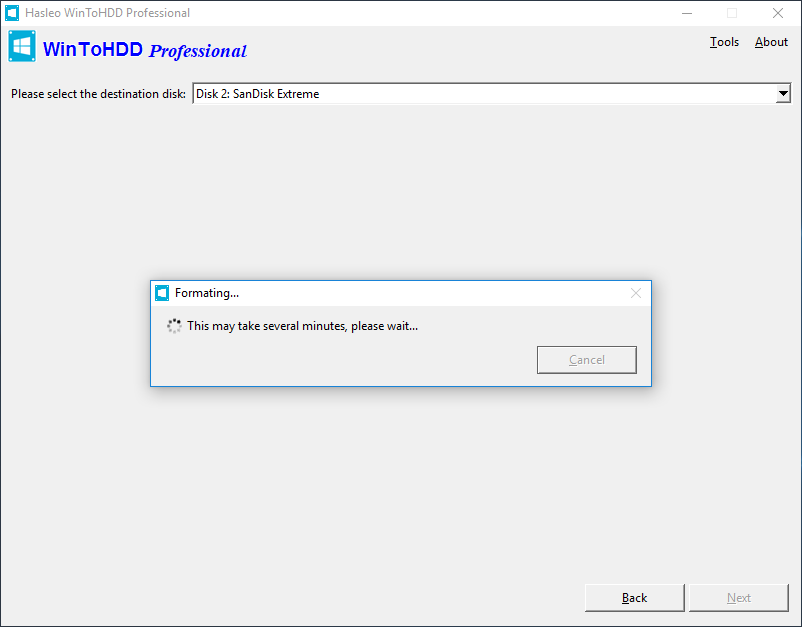
Step 3. Click "Yes". After clicking "Yes", WinToHDD begins formatting. Please wait until that format operation is complete.
Step 4. After successfully formated the USB drive, click "Next", WinToHDD begins creating the Windows installation USB drive.
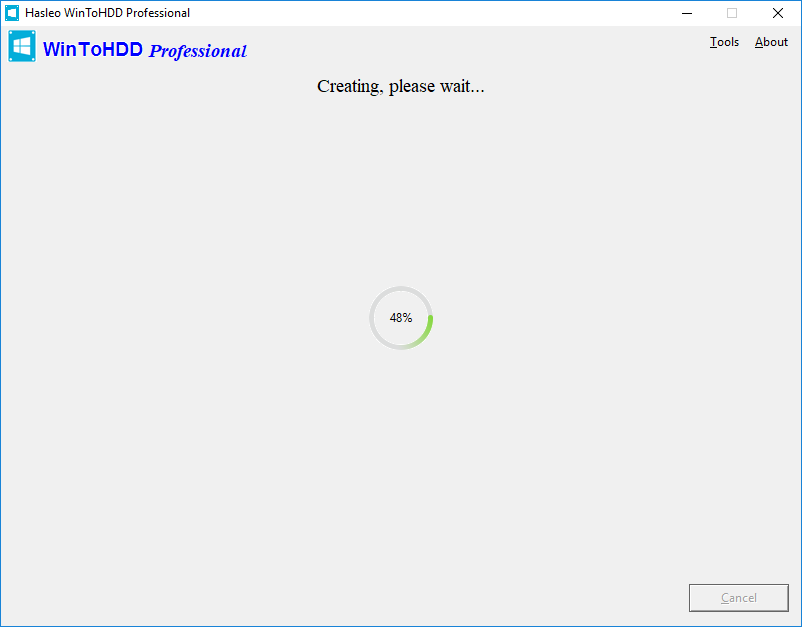
Step 5. It will take some time to create the multiple Windows installation USB drive. After the creation is completed, you can copy any number of Windows installation ISO to the destination USB flash drive, as long as the USB drive is large enough, then unplug the USB drive.
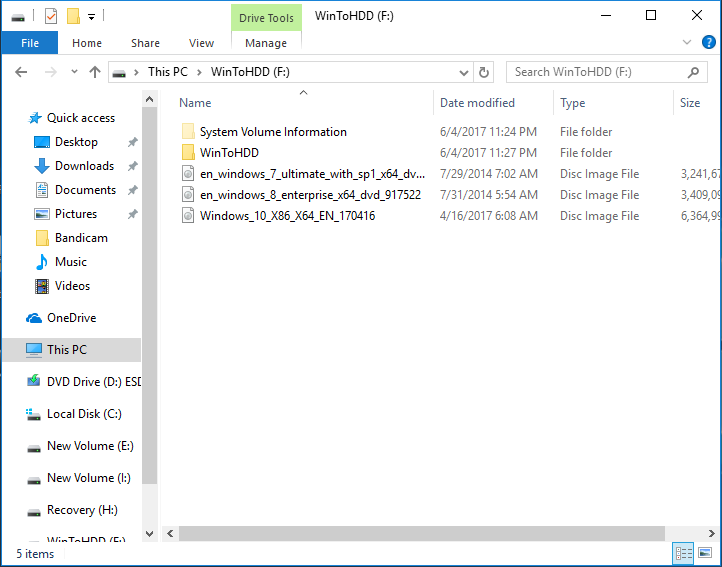
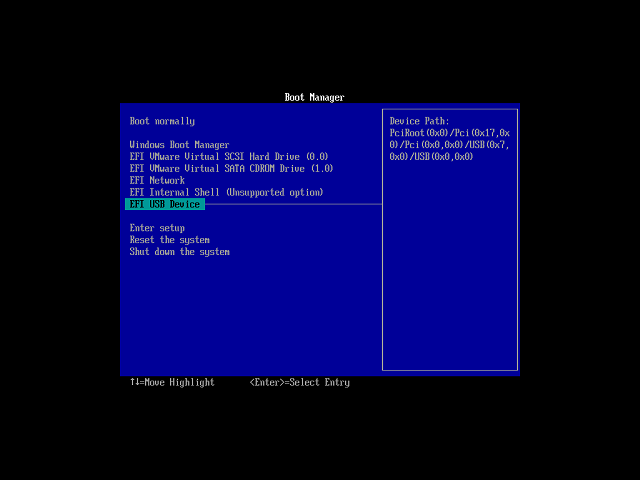
Step 6. Connect the multiple installation USB flash drive to the computer which you want to intall Windows. Power on the computer, and change BIOS to boot from the USB drive.
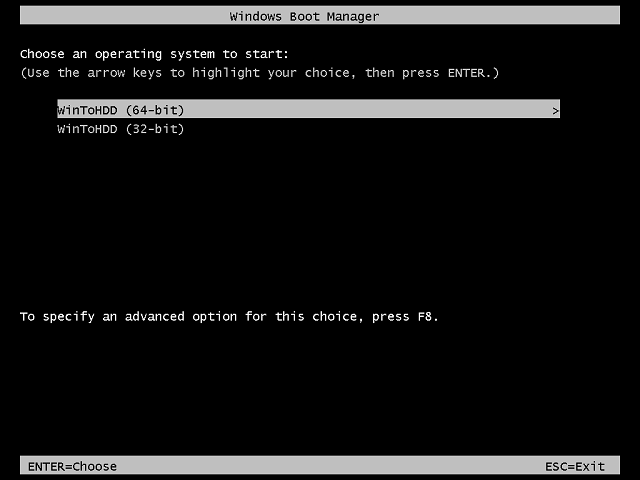
Step 7. If the computer is 64-bit, please run "WinToHDD (64-bit)", otherwise run "WinToHDD (32-bit)".
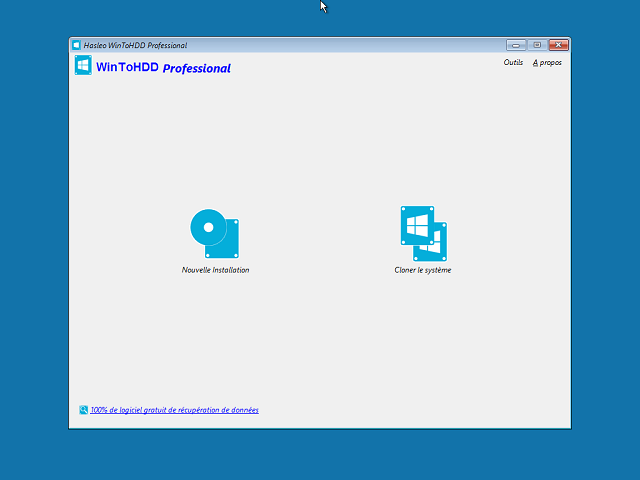
Step 8. The computer will boot into Windows PE environment and automatically run WinToHDD. Click the "New Installation" button.
Step 9. Now please refer to the following guide to install Windows:
How to Install Windows With WinToHDD?
Follow these simple steps, you can create a multiple Windows installation USB drive with free Windows deployment tool WinToHDD easily.