Hasleo Disk Clone is a free, easy-to-use tool for Windows migration and disk/partition cloning. This guide will teach you how to migrate Windows to a new disk, clone a disk to another, clone a partition to another location, or create a bootable WinPE emergency disk for migration tasks. Please click the buttons below for detailed instructions.
Step 1. Download, install, and run Hasleo Disk Clone, then click the "System Clone" option. Hasleo Disk Clone automatically selects all partitions required for migrating Windows. Just click "Next" to continue.

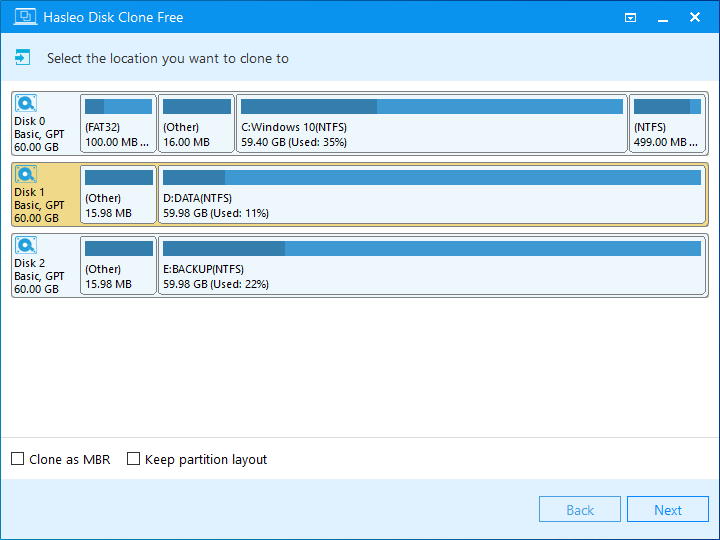
Step 2. Select the destination disk and then click "Next".
* The Advanced mode allows you to clone Windows to a contiguous space on the destination disk. This space can be a combination of multiple existing partitions and free space while keeping other unselected partitions that exist on the destination disk.
* The Clone as MBR/GPT option allows you to clone a Windows OS from an MBR disk to a GPT disk or from a GPT disk to an MBR disk.
* The Delta clone option can ensure that only the changed data blocks of the Windows partition are cloned to the destination disk. This requires that an earlier full clone of the current operating system already exists on the destination disk. For detailed instructions, please refer to the tutorial: How to Delta Clone a Windows Operating System?
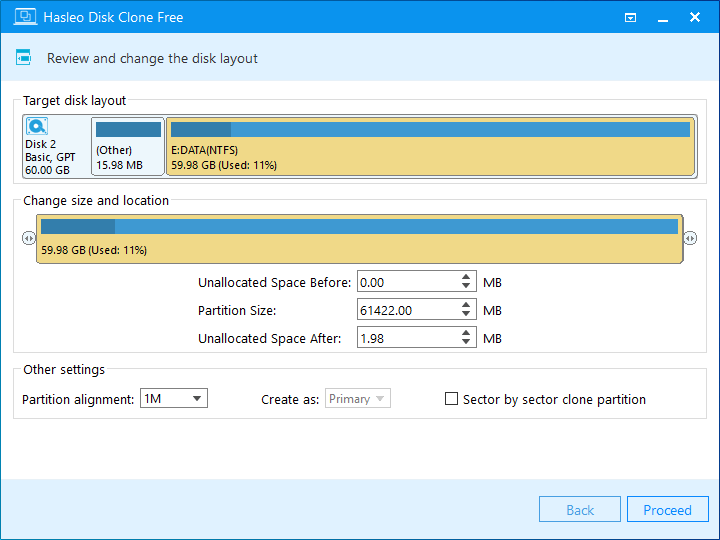
Step 3. Adjust the partition size and location according to your needs, then click "Proceed".

* Disk alignment:
* The Sector by sector clone partiton option copies every sector from the source partition to the destination partition, including unused sectors.
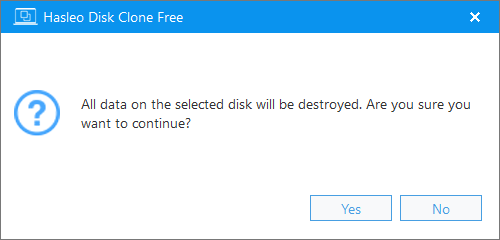
Step 4. The system will pop up a warning message, prompting you that all data on the selected drive will be deleted. Please back up your important data in advance. If you have already backed up your data or do not wish to, click "Yes" to continue.
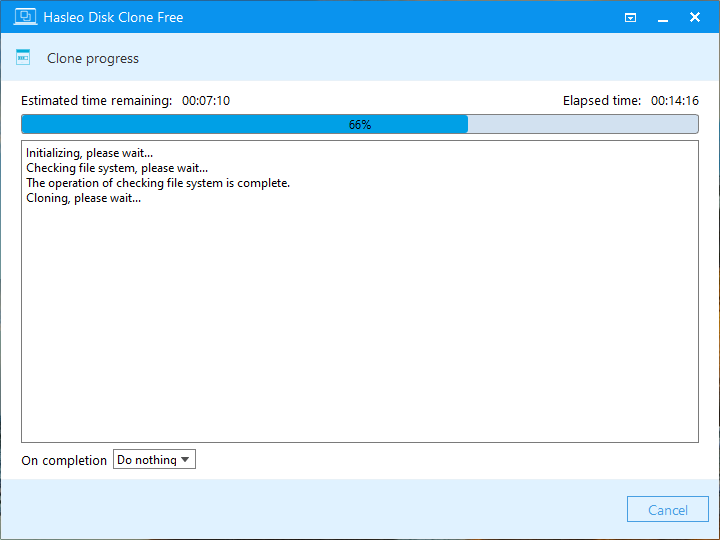
Step 5. Hasleo Disk Clone starts migrating Windows to the destination disk.
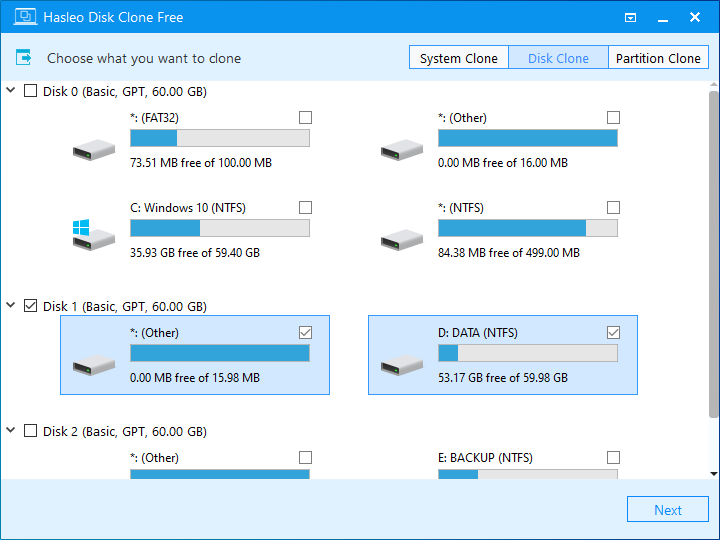
Step 1. Download, install, and run Hasleo Disk Clone, then click the "Disk Clone" option. Select the source disk you want to clone, then click the "Next" button.
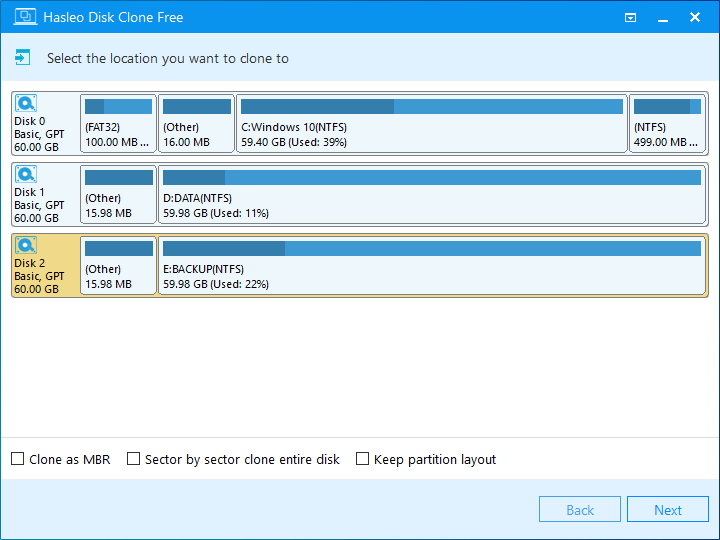
Step 2. Select the destination disk and then click "Next".
* The Advanced mode allows you to clone Windows to a contiguous space on the destination disk. This space can be a combination of multiple existing partitions and free space while keeping other unselected partitions that exist on the destination disk.
* The Clone as MBR/GPT option allows you to clone a Windows OS from an MBR disk to a GPT disk or from a GPT disk to an MBR disk.
* The Sector by sector clone entire disk option copies every sector from the source disk to the destination disk. Therefore, the destination disk must have a capacity equal to or greater than that of the source disk.
* The Delta clone option can ensure that only the changed data blocks from the source disk are cloned to the destination disk. This requires that an earlier full clone of the source disk already exists on the destination disk. For detailed instructions, please refer to the tutorial: How to Delta Clone a Disk?
Step 3. Adjust the partition size and location according to your needs, then click "Proceed".
* Disk alignment:
* The Sector by sector clone partiton option copies every sector from the source partition to the destination partition, including unused sectors.
Step 4. The system will pop up a warning message, prompting you that all data on the selected drive will be deleted. Please back up your important data in advance. If you have already backed up your data or do not wish to, click "Yes" to continue.
Step 5. Hasleo Disk Clone starts cloning the source disk to the destination disk.
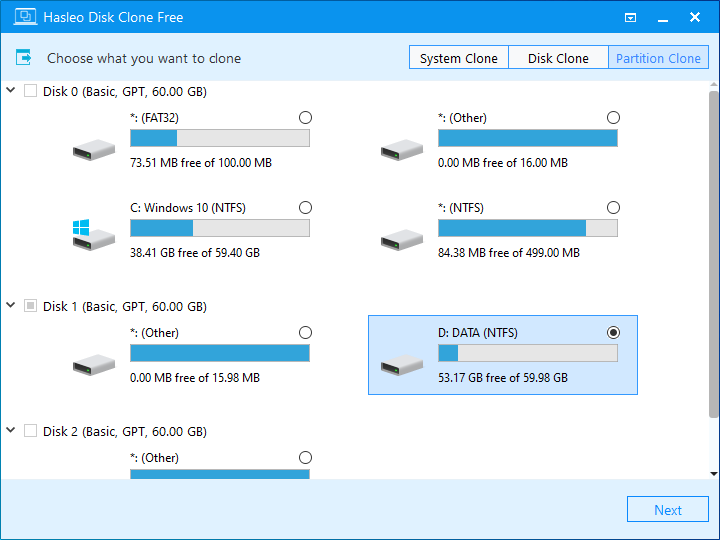
Step 1. Download, install, and run Hasleo Disk Clone, then click the "Partition Clone" option. Select the partition you want to clone, then click the "Next" button.
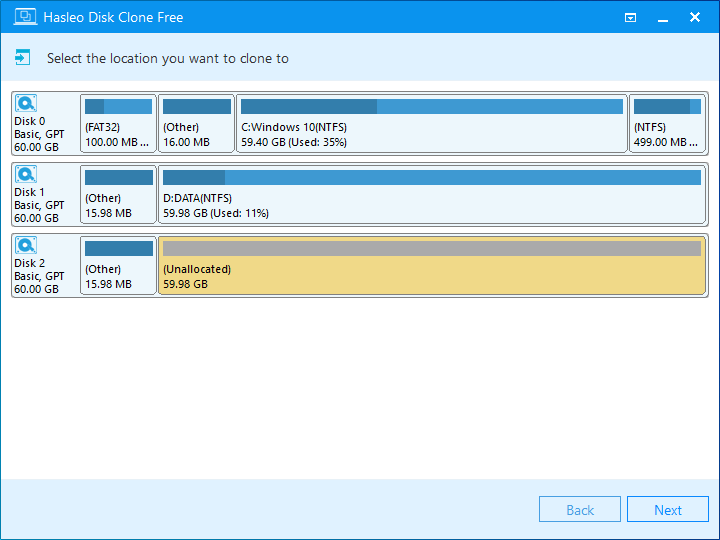
Step 2. Select an existing partition or unallocated space as the destination partition, then click "Next".
* The Advanced mode allows you to clone Windows to a contiguous space on the destination disk. This space can be a combination of multiple existing partitions and free space while keeping other unselected partitions that exist on the destination disk.
* The Delta clone option can ensure that only changed data blocks from the source partition are cloned to the destination partition. This requires the destination partition to be an earlier full clone of the source partition. For detailed instructions, please refer to the tutorial: How to Delta Clone a Partition?
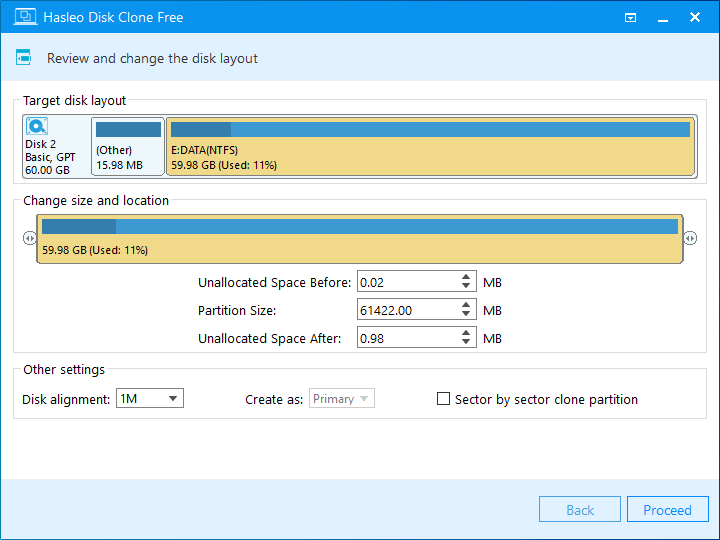
Step 3. Adjust the partition size and location according to your needs, then click "Proceed"
* Partition alignment:
* The Sector by sector clone partiton option allows you to clone all sectors from the source partition to the estination partition.
Step 4. Hasleo Disk Clone starts cloning the source partition to the destination partition.
Please note that you may need to disable UEFI Secure Boot to boot from the bootable WinPE media created by Hasleo Disk Clone.
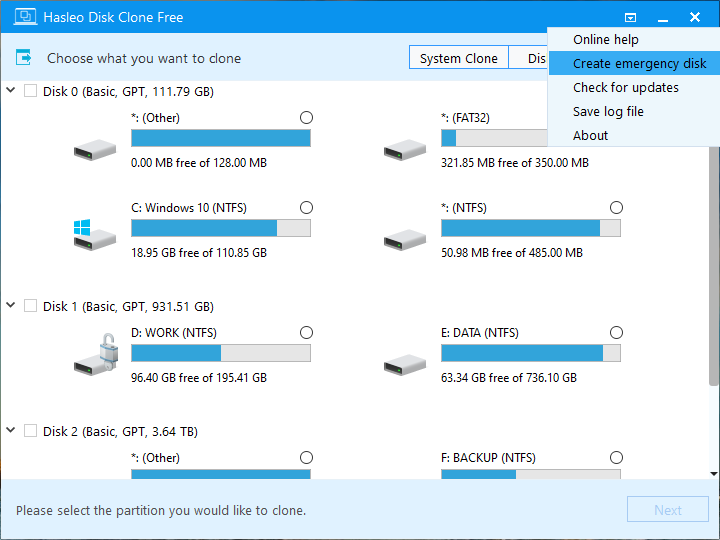
Step 1. Run Hasleo Disk Clone, then click  > "Create emergency disk".
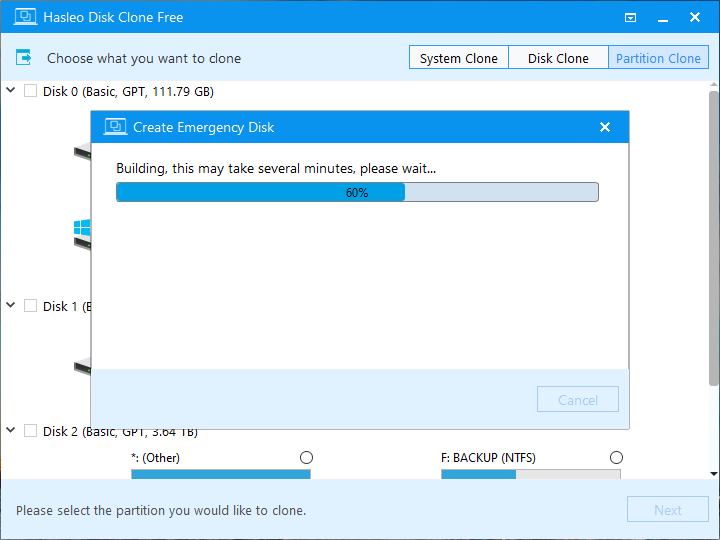
Step 2. Hasleo Disk Clone begins building a bootable WinPE image.
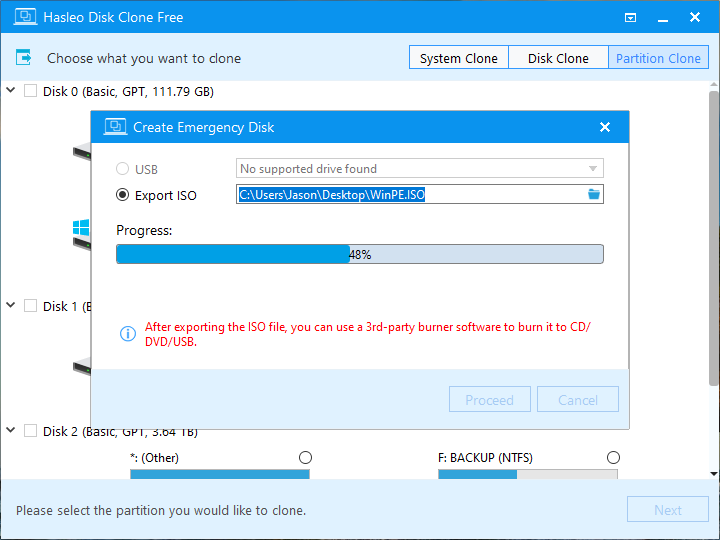
Step 3. After successfully building the WinPE image, select "USB" to create a bootable emergency USB drive or "Explore ISO" to export the ISO file to a specified location, then click "Proceed".
Step 4. Once the operation finishes, click the 'Close' button to exit.
![]()
![]()


