As a professional Windows To Go Creator, Hasleo WinToUSB is the world's first software that can help us clone the existing Windows OS installation (Windows 7 or later) to a USB or Thunderbolt drive as portable Windows, this feature allows you to quickly migrate your work environment to a USB drive, which reduces the time consumption of freshly installing Windows and application software. This guide will help you explain how it works, please read this guide carefully before performing the clone operation.
Step 1. Connect the USB or Thunderbolt drive to the computer, download, install and run WinToUSB and then click the "Windows To Go USB".
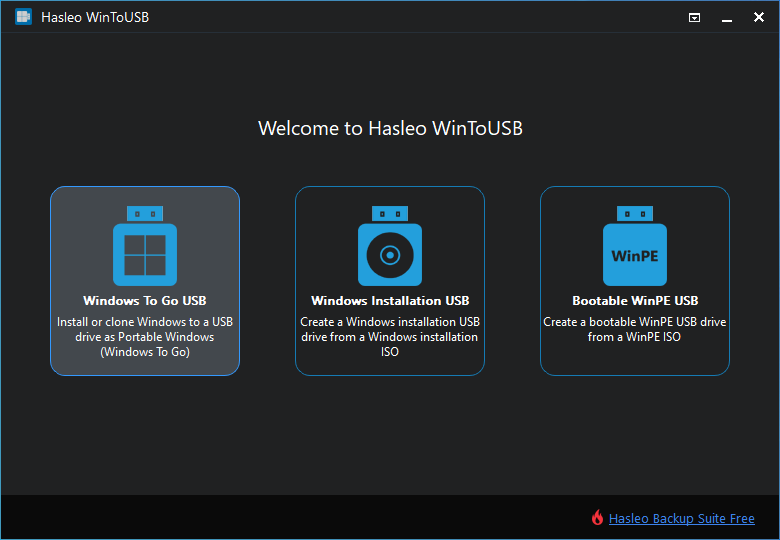
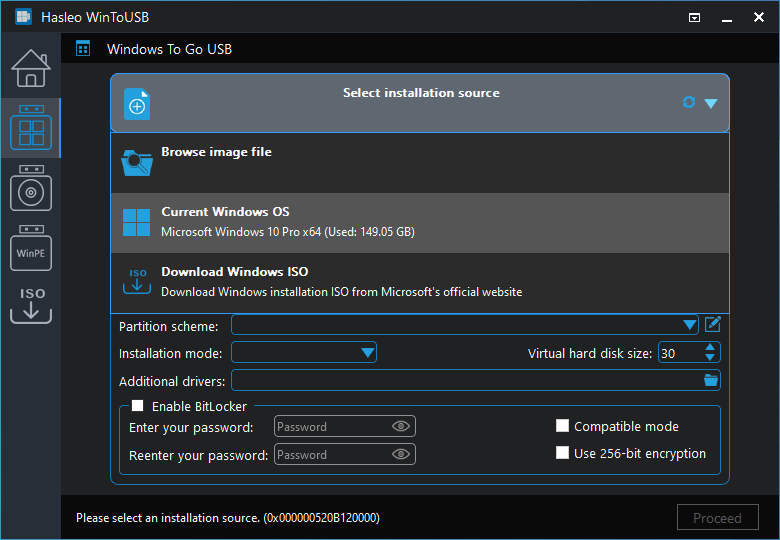
Step 2. Click "Select installation source" and then select "Current Windows OS" from the list that pops up.
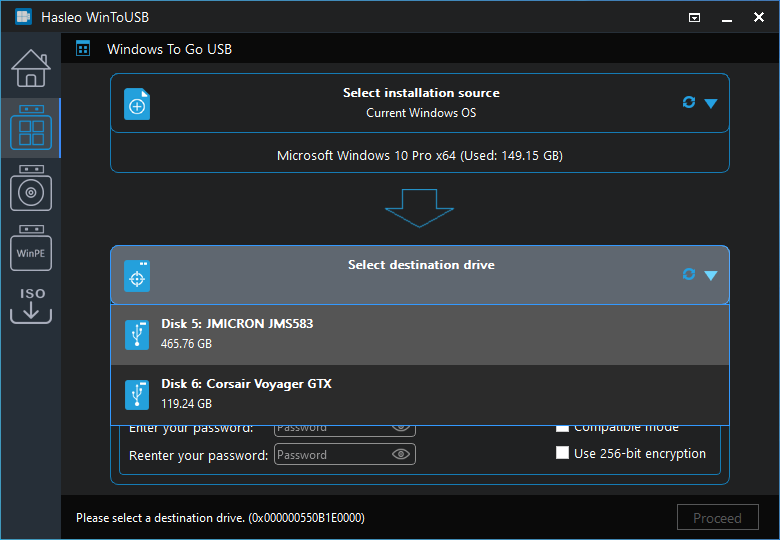
Step 3. Click "Select destination drive" and select the destination drive from the pop-up drive list. If the drive is not correctly recognized by Hasleo WinToUSB, you can click the ![]() button for the program to recognize the drive.
button for the program to recognize the drive.
Step 4. Choose the partition scheme, installation mode, and set other information according to your needs. Please note that here you will need to click on the ![]() button to see more settings.
button to see more settings.
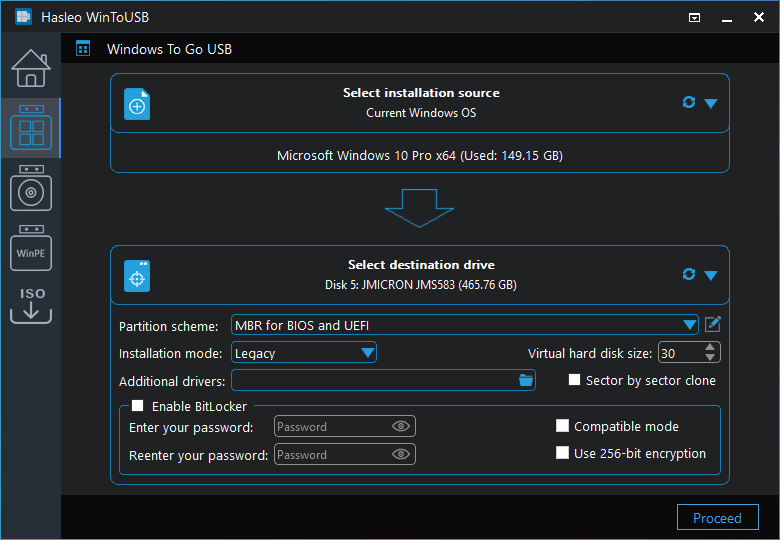
* Partition scheme:
* Delta Clone: Only clone the changed data blocks to the destination drive to enhance cloning efficiency, which means the destination drive must have an earlier clone of the current operating system. For information on how to use "Delta Clone", please refer to How to Delta Clone Windows to update an existing Windows To Go Workspace?.
* Installation mode:
* Enable BitLocker:
* Additional drivers:
* Offline internal disks when booting into Windows To Go: All internal disks will be offline by default after booting into Windows To Go with this option checked, and you will need to manually bring the internal disks online to access them.
* Sector by sector clone: This option enables you to clone all sectors from source boot partition to destination boot partition, so the destination boot partition must be greater than or equal to the source boot partition.
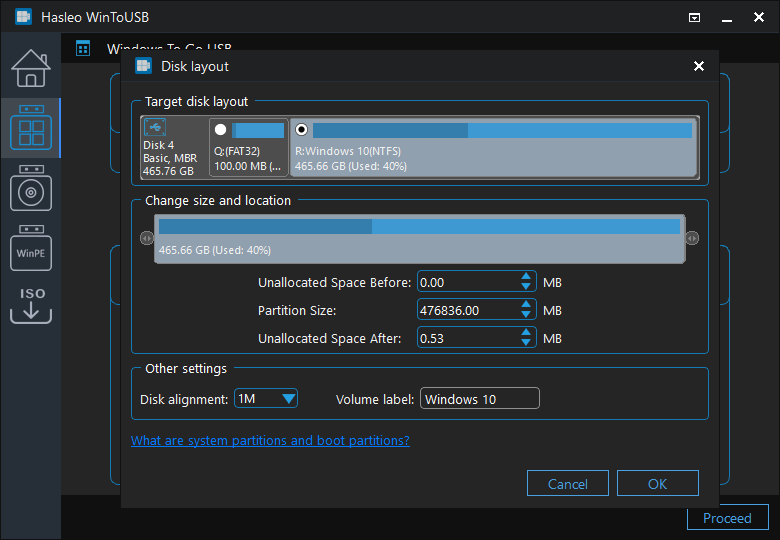
Step 5. After choosing the partition scheme, you can click the ![]() button to bring up the Disk Layout window. Here you can adjust the size and location of the partitions as well as set volume labels and other information as needed, and then click "OK" to save the changes.
button to bring up the Disk Layout window. Here you can adjust the size and location of the partitions as well as set volume labels and other information as needed, and then click "OK" to save the changes.
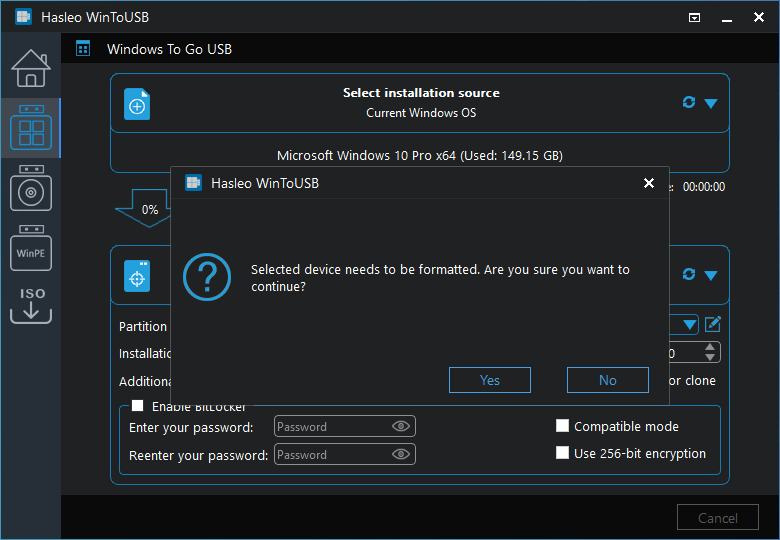
Step 6. Click "Proceed" when you have completed all the settings, a pop-up will appear asking you if you want to format it to continue, click "Yes" if you are sure.
Step 7. After clicking "Yes", WinToUSB begins cloning Windows to the destination drive.
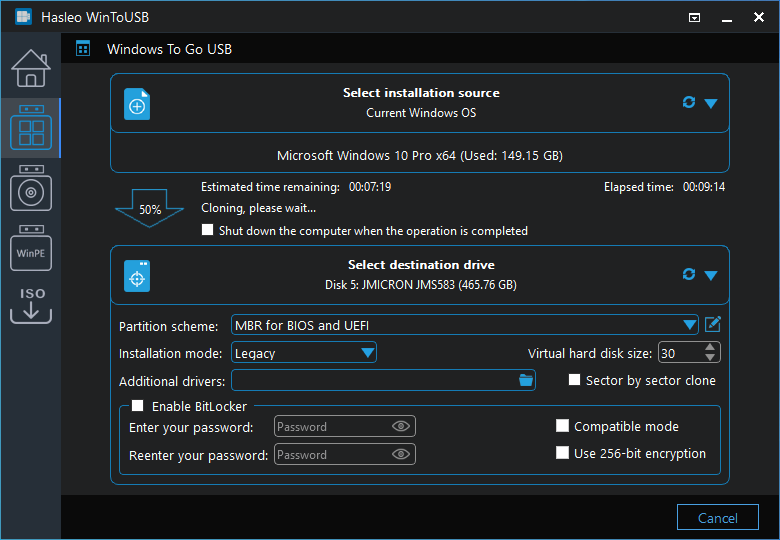
* Tips: Please note that in some cases WinToUSB may need to create a WinPE and then reboot into the WinPE environment to complete the Windows cloning operation.
Step 8. It takes some time to clone. After the clone is successfully completed, restart the computer and change BIOS to boot from your USB or Thunderbolt drive.
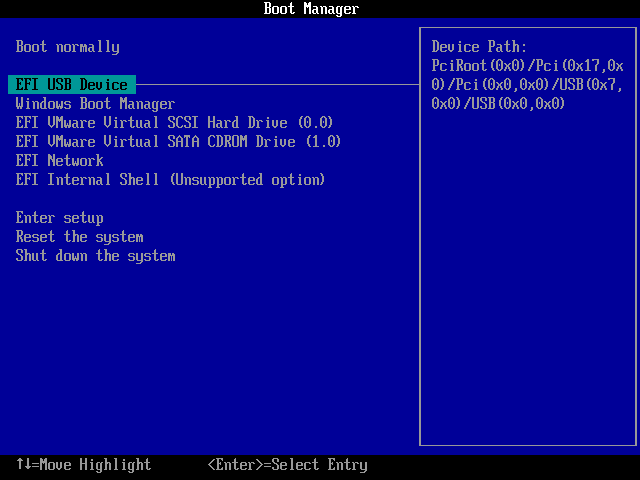
Follow these simple steps, you can clone/migrate Windows OS to USB or Thunderbolt drive with WinToUSB easily, and then boot Windows from the drive.
As a professional portable Windows creation tool, you can also use Hasleo WinToUSB to install Windows from a Windows installation ISO, WIM to a USB drive, or even from a Windows system backup image generated by Hasleo Backup Suite to a USB drive as portable Windows.